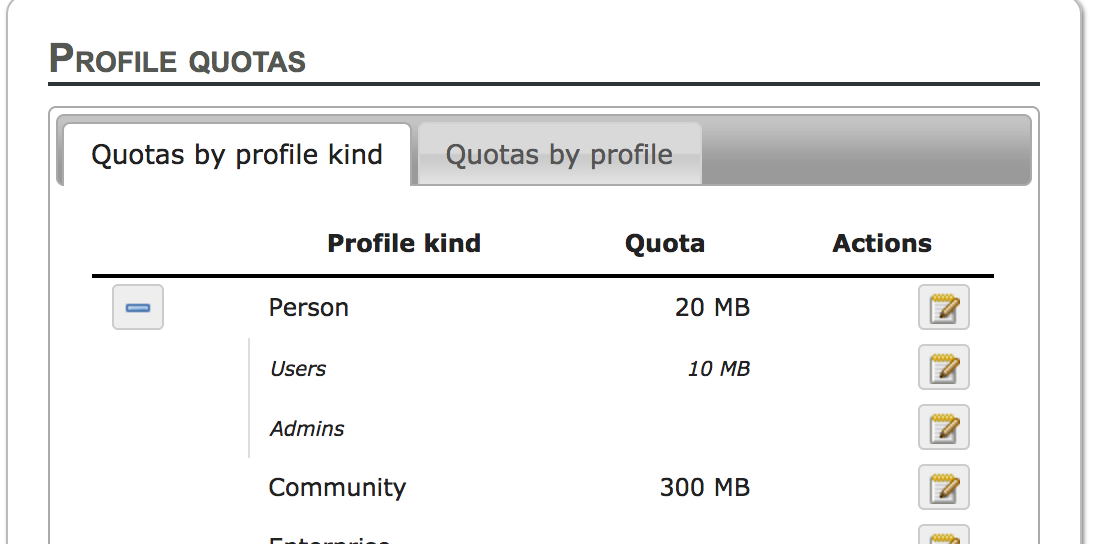
Manage Upload Quotas
You can set a quota value for profiles based on its type, or individually for each profile.
To manage upload quotas, go to the administration panel and follow the “quotas” link.
Managing quotas by type

You can edit quotas for the default types (Person, Community, and Enterprise), but you can also edit quotas for the custom types created in the administration panel. If there is at least one custom type, it will be possible to display it by clicking in the toggle button in the line of its super type.

To edit the quota for this type, click in the edit button at the end of its line.
Managing quotas by profile
You can also edit the quota of a specific profile. Just go to the second tab of the manage upload quotas page.

You can search for a specific profile in the search box, and filter by profile type using the dropdown menu.

After you found the desired profile, just click in the edit button at the end of its line.
Setting the quota value
You can set any numeric value as the upload of the quota, but note that the value will be interpreted as Megabytes. Zero is a valid value, but will mean that the profile cannot upload any files.
If you left the field blank, the profile will have an unlimited upload quota. That is the default value for all profiles.

After choosing the quota value, just click “Save”.
Precedence of upload quotas
The default quota for a profile is unlimited, unless a custom value was set to its type. If the profile has several types with different quota values, the biggest quota will be considered. If a custom quota was set directly for the profile, this value will always be used, and the quotas for its types will always be overwritten.